Google Workspace Tutorials

Create and use Multiple Email Signatures (with logo) in Gmail

As of April 2020 Google is adding multiple email signatures. In this tutorial you'll learn how to create and use multiple email signatures in Gemail.


Create and use Multiple Email Signatures (with logo) in Gmail

You’re a Gmail user and would like to use multiple email signatures? Maybe a signature for people outside of your organization and a separate one for your colleagues? Then I have great news for you: as of April 2020 Google is rolling out a new functionality that enables you to create and use multiple signatures in Gmail.

In this tutorial you’ll find a step-by-step tutorial on how you create and use multiple email signatures in Gmail (with logo!). If you’re pressed for time just go ahead and watch the tutorial video where I walk you through the process.


Create default email signature

The first step to create and use multiple email signatures in email is to create the default email signature. You do so be clicking on the Gear icon in the top righthand corner of Gmail. When the context menu appears click on Settings.

Once you’re in the Settings interface scroll down until you see Signature. In this tutorial we have no signatures yet and so we click on + Create new

Gmail Tutorial: Create new signature
In the Gmail settings click on + Create new

You’ll be prompted to enter a name for the email signature you’re creating. In our tutorial we’re giving the email signature the name Outside Organization. Click on the Create button to get to the next step.

Now it’s time to actually create the content of your email signature. As always you have the possibility of formatting your text, adding links and images, etc. Let’s see how we can add our organizations logo and make it a clickable link.

Add a clickable logo to your email signature

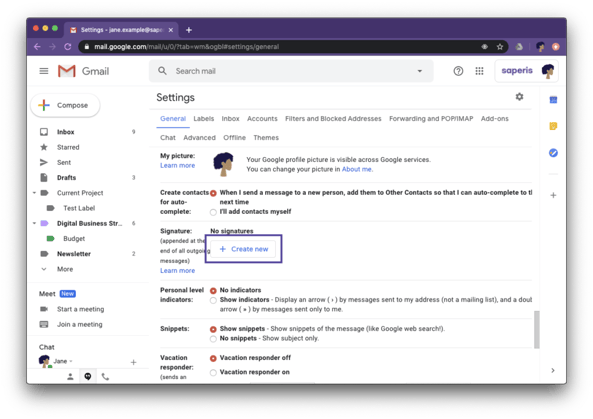
While creating our email signature we added the logo of our organization as a simple image. Now we want to add a link to our logo so that when the recipient of our email clicks on the logo our organization’s website opens in the browser.

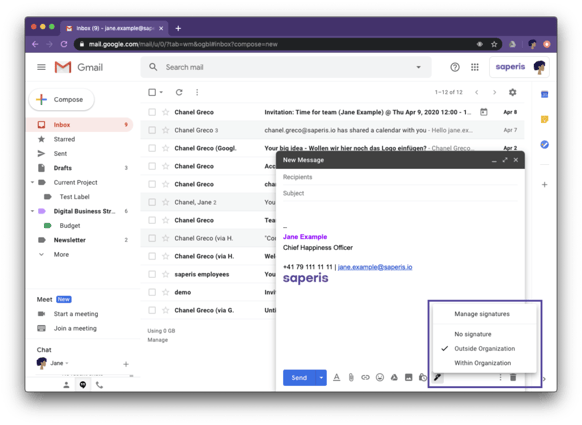
To do that we mark our logo by clicking our mouse or trackpad and dragging the cursor over our logo. Once you’ve done that you’ll see a grey overlay over our logo. Now comes the tricky part: in the formatting menu click on the Link symbol, wich sadly is almost totally covered by the context menu of the marked logo. In the prompt that appears you add your link and confirm.

Your default email signature including the clickable logo is now created. We’re ready to create the second email signature.

Mark logo and then add link to it

Create alternative email signature

To create the second email signature click on + Create new at the bottom of the Signature section. Again you’ll be prompted to give your signature a name. In this tutorial we’ll name our alternative email signature Within Organization. Just like we did for the first email signature: add the content of the signature to your liking and go ahead and format as you please. 

Define signature defaults

Now that we’ve created two separate email signatures we should define which of the two is the default email signature. 

We have the possibility to define a default email signature for new emails that we create and for replies and forwards of emails. In our tutorial we chose our Outside Organization as the email signature for new emails we create and the Within Organization for our email replies and forwards. Configure this settings according to your situation.

Once you’re done don’t forget to scroll to the bottom of the page and confirm your settings with Save Changes.

Set your default email signatures
Set your default email signatures for new emails as well as reply/forward

How to use multiple email signatures

Now that we’ve created our two email signatures let’s see how we actually use them. For that we compose a new email. At the bottom of our email we see the Pen icon. Click on it to make the context menu appear. 

You know can choose which of the two email signatures, which you’ve just created, should be used for this specific email.

Choose between the seperate signatures
The Pen icon makes the context menu with the email signatures appear

Further information

Would you like to see how you can create automated responses to common messages in Gmail? Then head over to this tutorial where we’ll teach you how to do so. 


Similar posts

Google Workspace Blog

Don't want to miss any of our blog posts about Google Workspace? Then go ahead and sign up!